A seam can be accurately stitched and still look unsettled. Before blaming your machine, look at what happened before and after stitching: how the pieces were laid out, and how the seam was pressed.
1. Give the grainline more than a glance
In woven fabric, the lengthwise grain follows threads parallel to the selvage; the crosswise grain runs across them. The diagonal bias behaves differently and can stretch. A pattern’s grainline tells you how the piece should sit relative to the fabric.
- Identify the selvage and read the pattern’s layout instructions.
- For a standard lengthwise placement, measure from each end of the grainline arrow to the same selvage. Adjust until the distances match.
- Secure the piece without dragging the fabric, then check the measurements again.
Do not rotate a piece just to squeeze it into leftover fabric. A bias-cut design or a piece marked for another direction is an intentional exception: follow its markings.
2. Press the seam before you sew across it
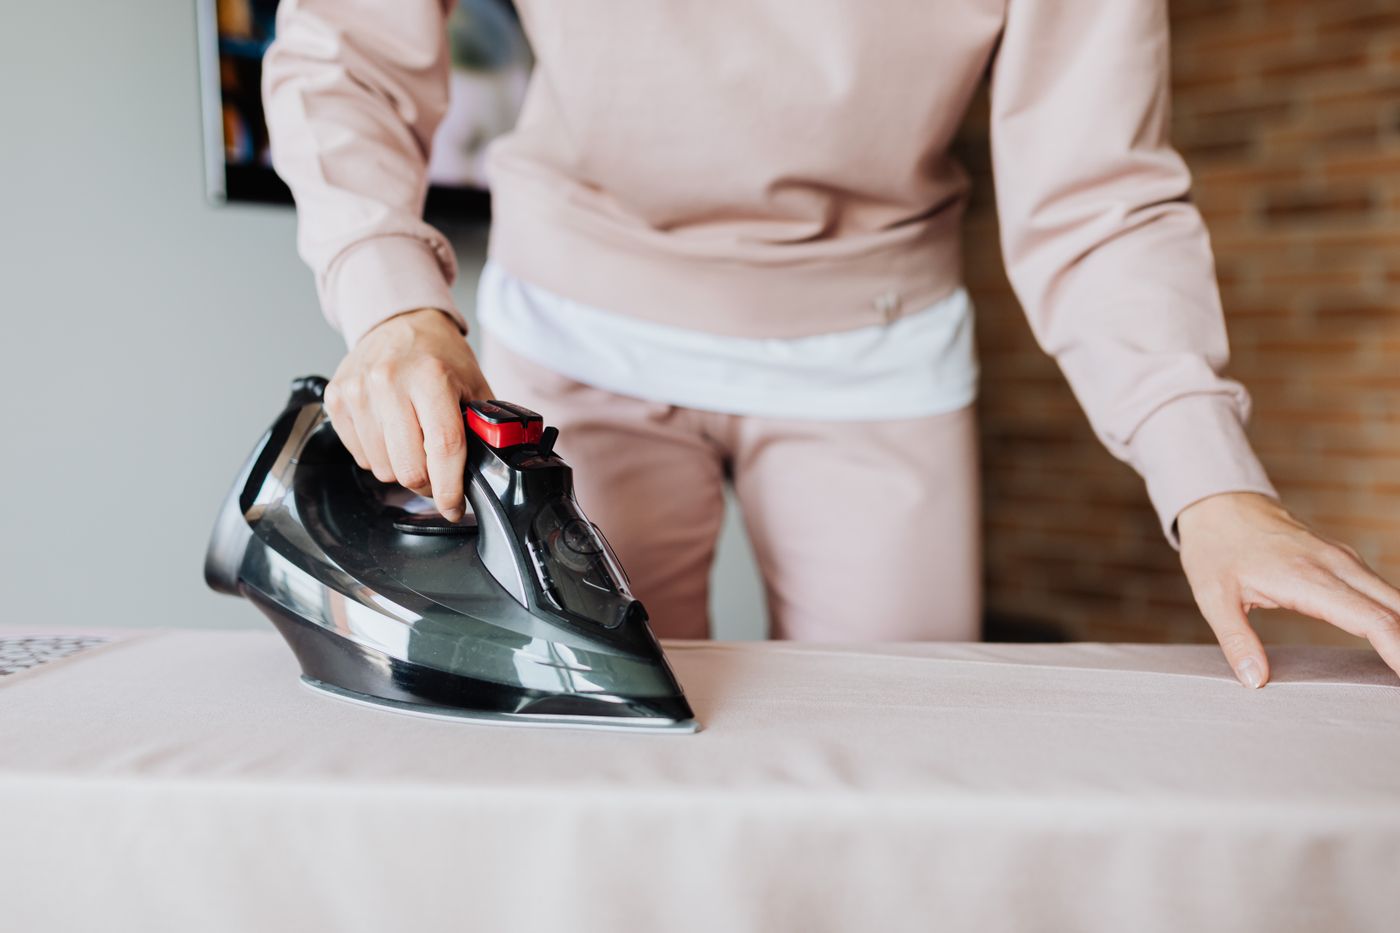
Pressing means lowering and lifting the iron rather than pushing it back and forth. Sliding can distort a seam, especially along a curve or bias edge.
Try the heat and steam setting on a scrap first. Press the seam as sewn, then arrange the allowances as the instructions specify and press again. Use a suitable pressing cloth where needed to protect the surface. Let the area cool before moving it. Do not flatten a shaped area just to make it fit a flat board.
You can batch a few pressing steps, but finish them before enclosing the seam under the next construction step.
A tiny experiment is better than a new tool
Take two pairs of matching scraps and sew the same simple seam in each pair. Leave one untouched. Press the other using settings tested on that fabric. Place them beside each other under the same light. Look at the ridge, the way the allowances lie and the shape of the seam.
Keep the two samples beside your machine for your next project. They are your own reference for this particular material, not a promise that every fabric needs the same heat or pressure.
Try this with your next cup
On a scrap of woven fabric, gently compare the give along the length, across the width and diagonally. Label the directions. Then practise lining up a paper arrow parallel to the selvage using two measurements. Save the good fabric for after the test.
Worth reading next
Explore the free educational references below for more detail. The planning exercises are our own; each reference includes a note about what it helps you learn.
- New Mexico State University — Clothing Construction Standards (free PDF) ↗
A garment-quality checklist covering grain, balance and seam appearance. Use it to assess your sample rather than treating one fabric as a universal standard.
- New Mexico State University — Pressing Pointers (free PDF) ↗
Practical guidance on temperature tests, pressing order and protecting shaped areas while you sew.
Bring your own experience to the table.
What did you learn from trying this? Share your work in progress and tag @patternlibraryco. Small discoveries count.
Browse the journal →