A beautiful board can keep growing while the sewing machine stays quiet. Try giving just one saved idea a job: help you choose the next garment, the fabric it needs, and the first small step.
1. Name what you love in the picture
Choose three saved images, then describe each without naming the brand. Is it the collar, the soft drape, the sleeve volume, the colour combination or the way the waist sits? Separate a construction detail from styling. A belt in a photograph may be doing work that the garment pattern itself does not do.
A saved image is a visual reference, not a set of sewing instructions. Keep the creator’s credit in your private notes, and check technical questions against an educational source before committing to a method.
2. Give the idea a place in your real life
Write one ordinary occasion when you would wear the garment, then name two things you already own that could go with it. For example: a soft blouse for a weekend lunch, worn with your existing trousers and cardigan. If the idea only works after buying several more things, put it aside and try another saved detail.
Our suggested limit for this exercise is one garment, one main detail and one new skill. That is a planning constraint, not a rule about how ambitious you should be.
3. Match a pattern and fabric, not just a colour
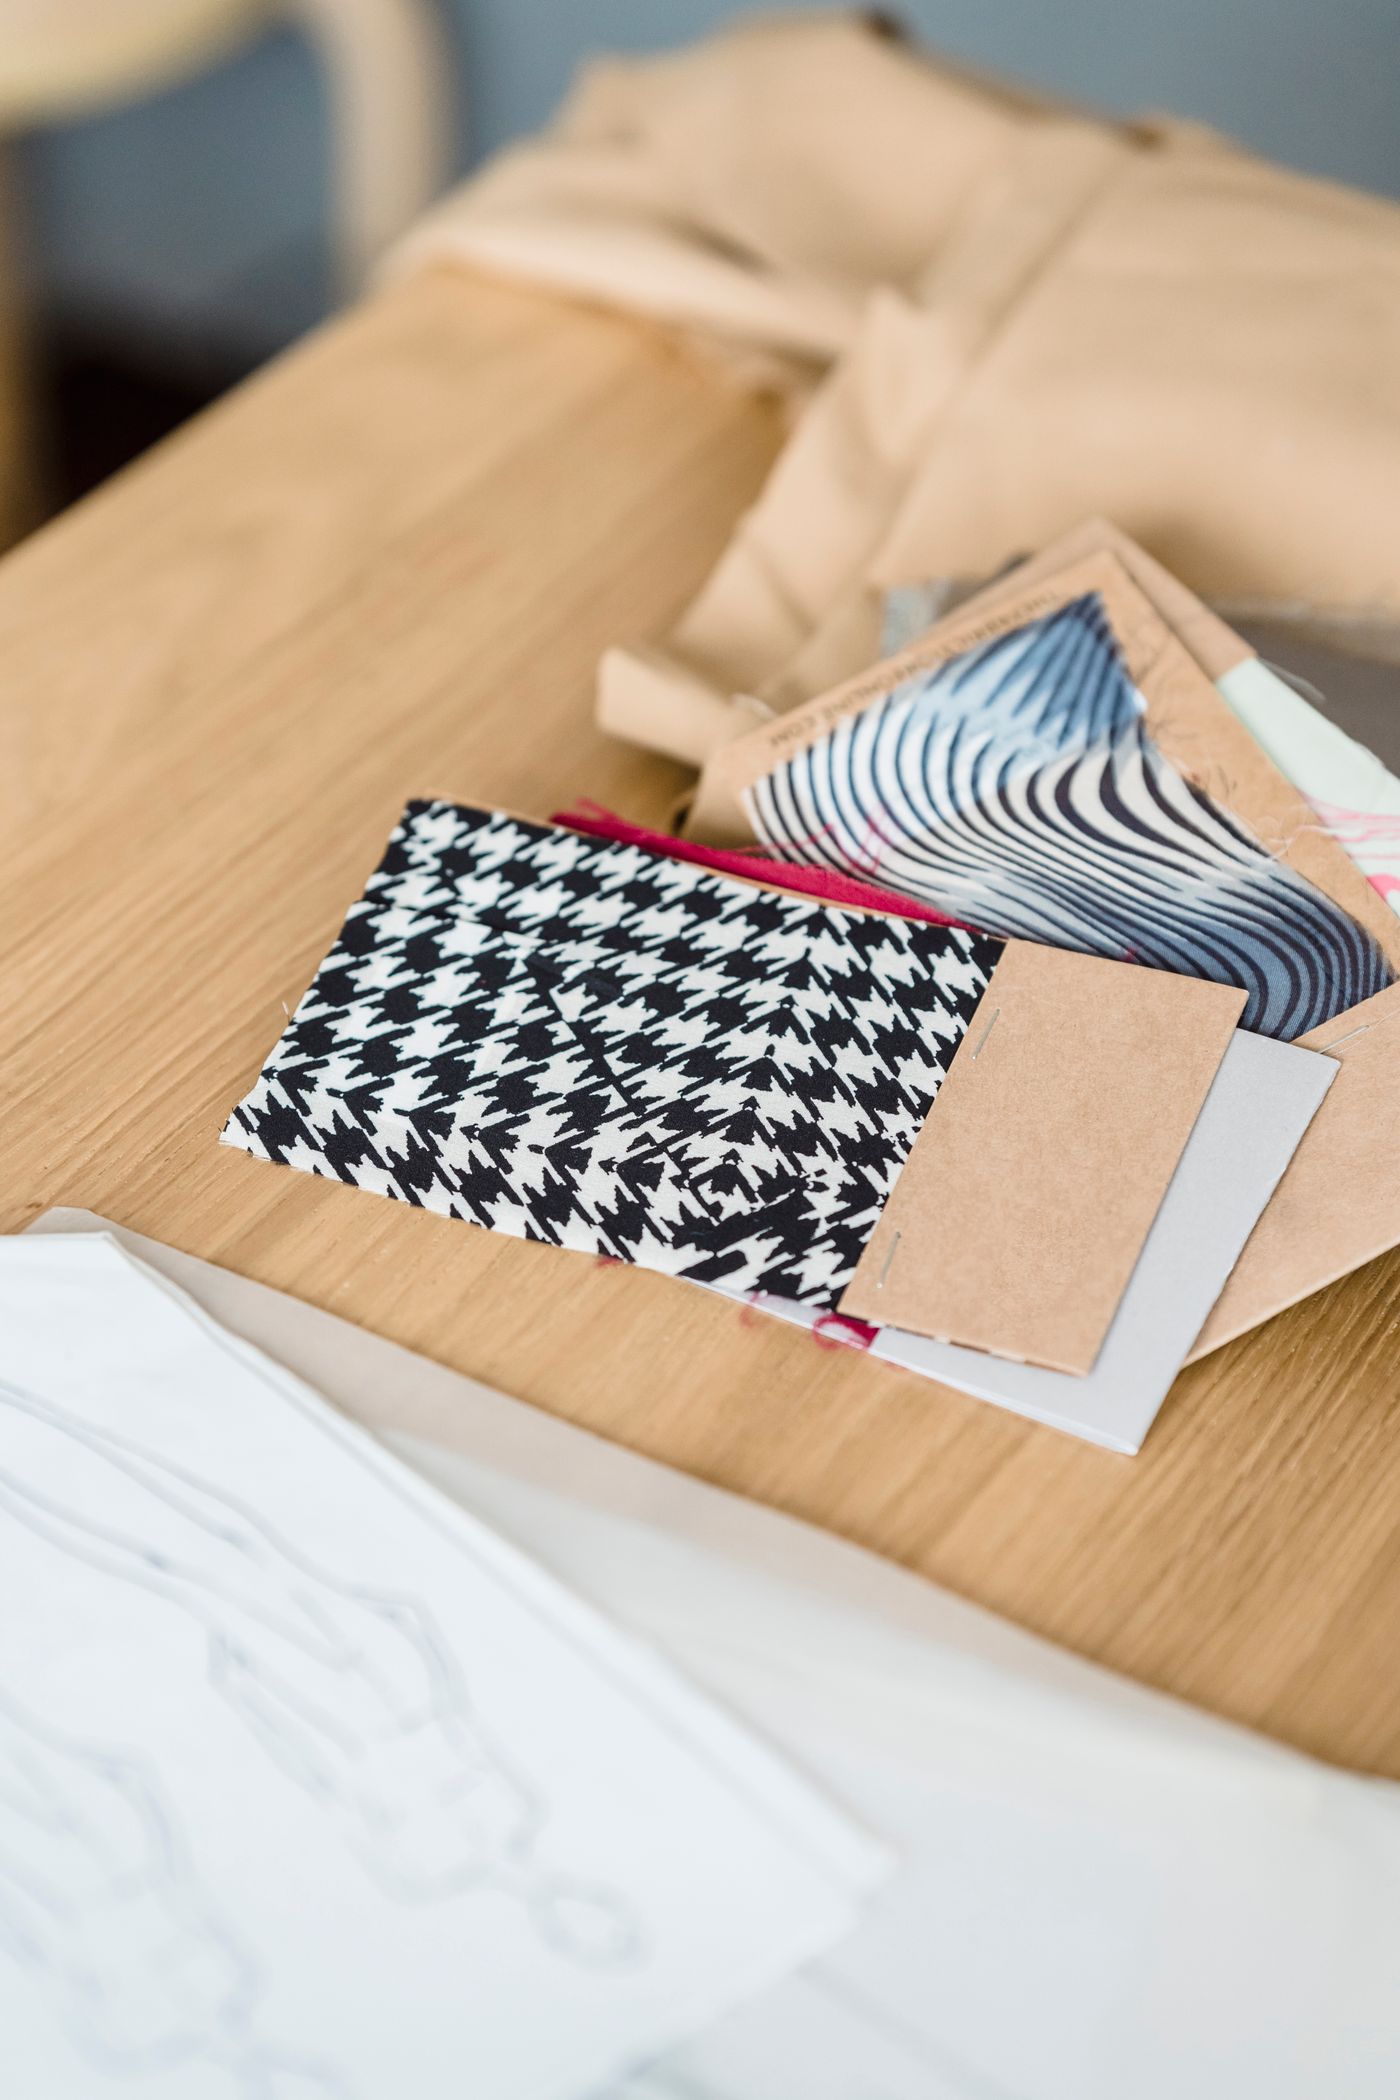
Look at the pattern’s line drawing and recommended fabrics before buying. Ask whether its shape contains the detail you want. Then check whether your chosen material is likely to give the structure or movement you admired.
Record the pattern view, size range, yardage and fabric width. Leave an explicit question mark beside anything you have not checked. A coordinated-looking board is not yet evidence that its fabrics and patterns will work together.
A crisp collar may also depend on its internal support. Interfacing adds body; lining and underlining have different jobs. The free university guide below explains those differences. Add any required support material to your plan rather than assuming the outer fabric alone will recreate the photograph.
Your one-project card
The detail I want: ____________________
Where I will wear it: ____________________
Pattern / view / size: ____________________
Fabric / width / amount: ____________________
One thing to test: ____________________
My next 20-minute step: ____________________
Copy this card into a notebook or print this page from your browser. Your first step might simply be finding the instructions, checking the fabric width or making a seam sample. Finish that step before turning the project into a shopping list.
Try this with your next cup
Pick one saved image today. Write one sentence beginning “I like this because…” and finish the project card. If you cannot identify the original source, keep it as visual inspiration rather than treating it as a sewing tutorial.
Worth reading next
Explore the free educational references below for more detail. The planning exercises are our own; each reference includes a note about what it helps you learn.
- New Mexico State University — Selecting Interfacings, Underlinings, and Linings (free PDF) ↗
Understand the hidden layers that help create a garment’s shape, then check the requirements of your chosen pattern.
Bring your own experience to the table.
What did you learn from trying this? Share your work in progress and tag @patternlibraryco. Small discoveries count.
Browse the journal →